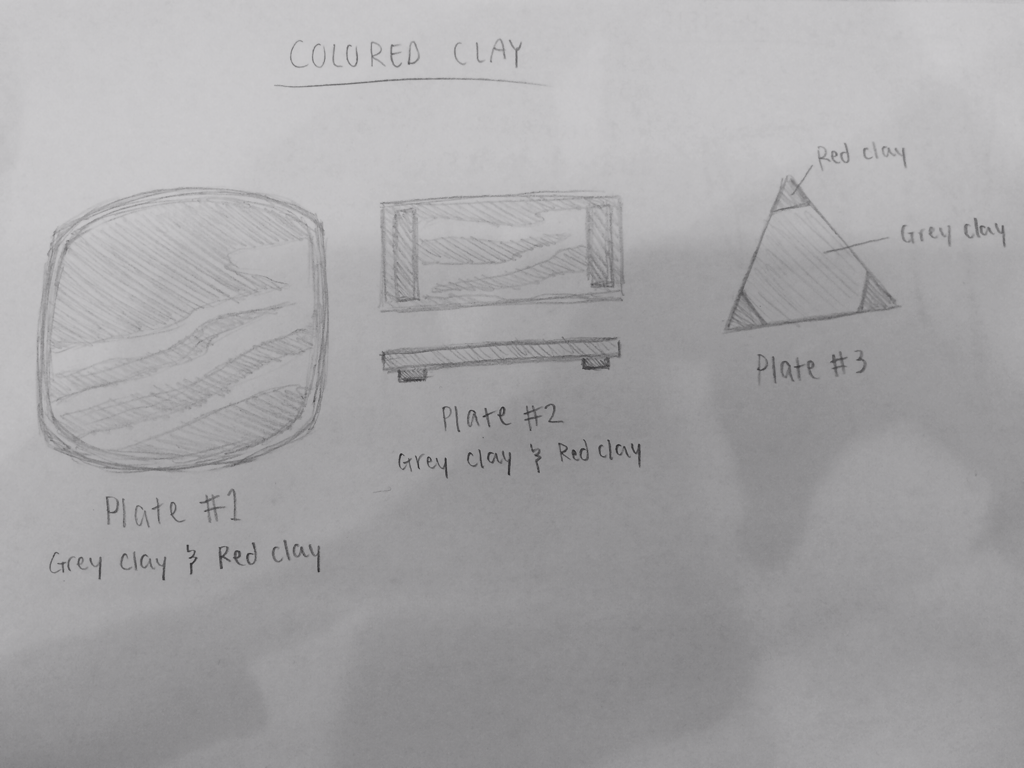
For my colored clay project, I did a set of three different shapes. Two of them are polygons and one is not so much. The first plate still has four sides, but they're not straight. I wanted the sides to curve more, since I planned to make it half plate, half bowl.
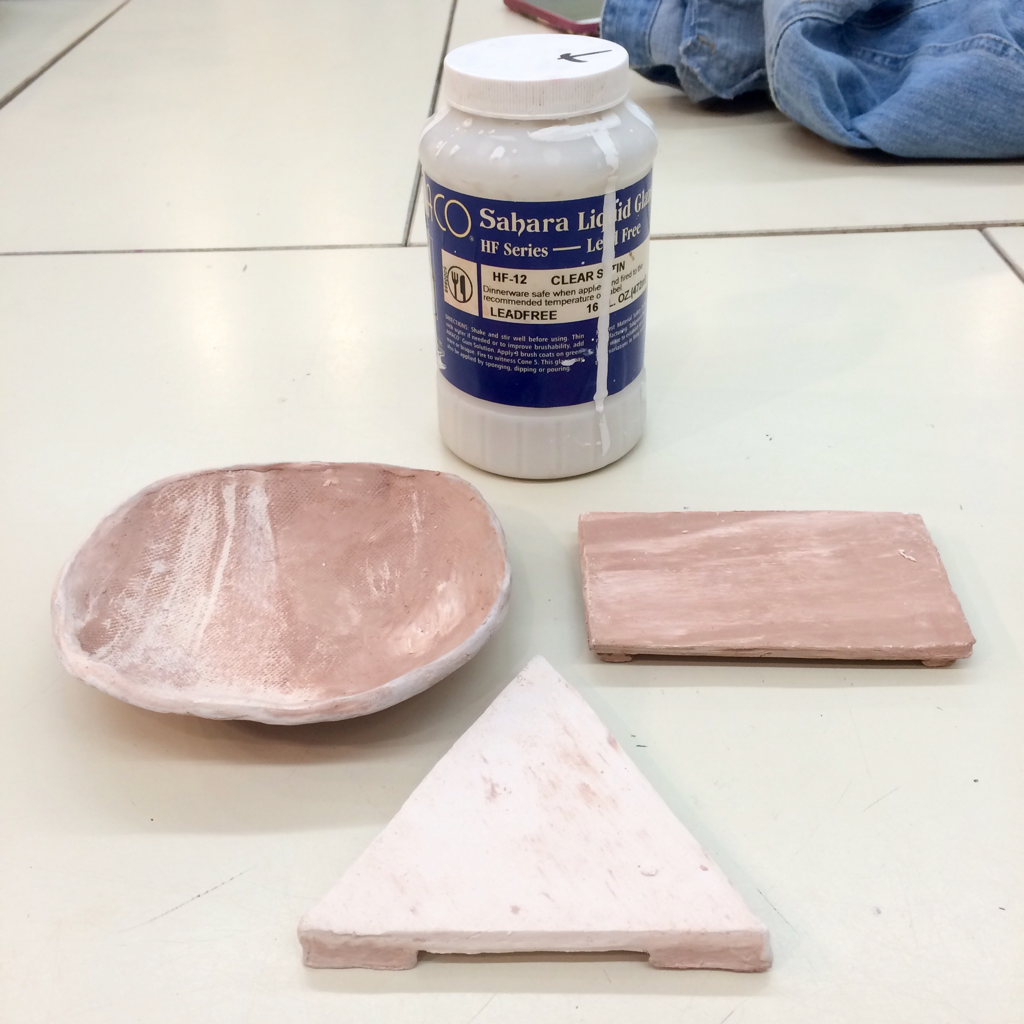
To to make these, I wedged two colored clays together. The two colors were red and plain grey. Afterwards, I made them into slabs by using the roller in the classroom. For the two polygons, I only had to cut out a rectangular and triangular shape. But for the other one, I actually had to use a bowl first. I wrapped the slab around the bowl and trimmed it about 3/4 up.
To to make these, I wedged two colored clays together. The two colors were red and plain grey. Afterwards, I made them into slabs by using the roller in the classroom. For the two polygons, I only had to cut out a rectangular and triangular shape. But for the other one, I actually had to use a bowl first. I wrapped the slab around the bowl and trimmed it about 3/4 up.
Above is what they look like after they were made and bisque fired. Because I wanted the red clay to show, I only used clear satin to glaze the set. Clear satin is a clear glaze that lets the color of your clay show up after they're fired again.
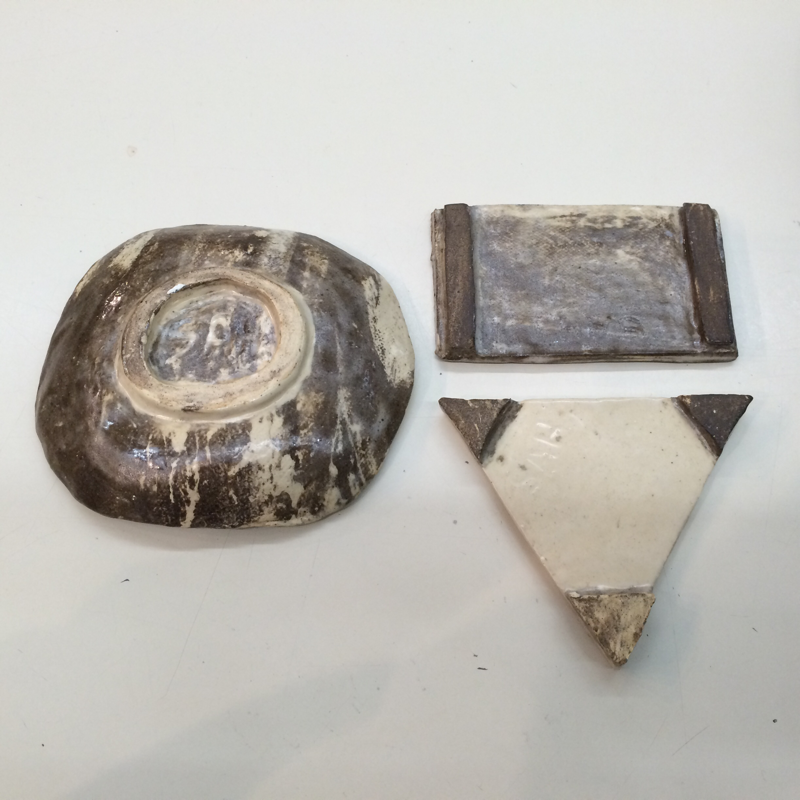
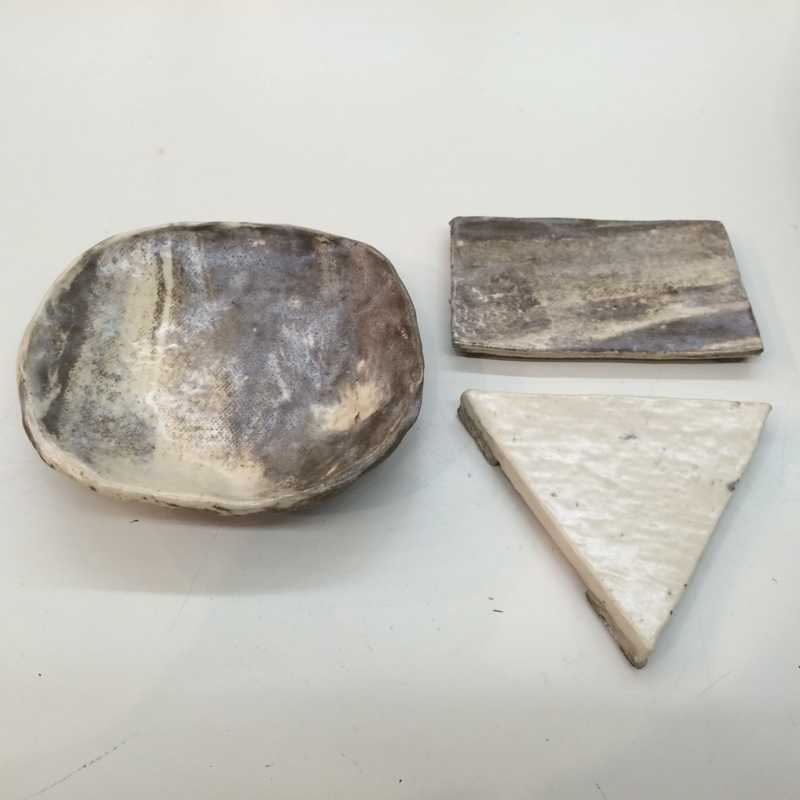
My final products show both the red clay and the grey clay. The red clay has turned brownish grey and the grey clay turned beige. I love how the triangular one looks like a piece of cheese. I think they're functional for their uses. You can definitely eat out of them.
 RSS Feed
